AC Not Turning On in California? Try These 10 Checks First

If your AC won’t turn on in Simi Valley, first check your circuit breaker and ensure your thermostat is set to "Cool" and 3–5 degrees below room temperature. Next, inspect for a clogged air filter or a tripped float switch caused by a backed-up drain line. These simple DIY fixes resolve roughly 40% of cooling failures without a service call.
Why This Checklist Matters in Simi Valley
When your AC is not turning on during a 95°F Simi Valley afternoon, panic sets in over potential $500 emergency repair costs. However, roughly 40% of "broken" units only require simple troubleshooting rather than professional repair.
Before calling a technician, use this systematic 20-minute checklist to identify common malfunctions that pose a major failure. Many of these checkpoints take less than five minutes and cost under $20 to resolve.
By following the same steps professionals take, you can save money, avoid discomfort, and determine if you truly have an emergency.
10 Things to Check Before Calling a Technician in California
1. Check the Circuit Breaker
Before you call for AC repair professionals, your electrical panel holds the answer more often than you'd think. A tripped breaker is the culprit in roughly 30% of "AC won't start" cases—especially after summer storms or power surges.
Head to your main electrical panel and locate the breaker labeled for your air conditioning unit. Look for a switch that's flipped to the "off" position or stuck in the middle (the tripped position). If it's tripped, flip it fully off, then back on. You should hear a solid click.
Don't ignore repeat trips. If your breaker keeps flipping off within minutes or hours, that's your AC unit drawing too much current—a sign of compressor failure, or a failing capacitor. In California's 100°F+ summers, stressed systems fail fast.
While you're at the panel, check the outdoor disconnect box near your condenser unit. This secondary shutoff sometimes gets bumped during yard work or seasonal maintenance. Make sure it's firmly in the "on" position.
Next, you'll want to examine what's actually telling your system to turn on—the thermostat itself.
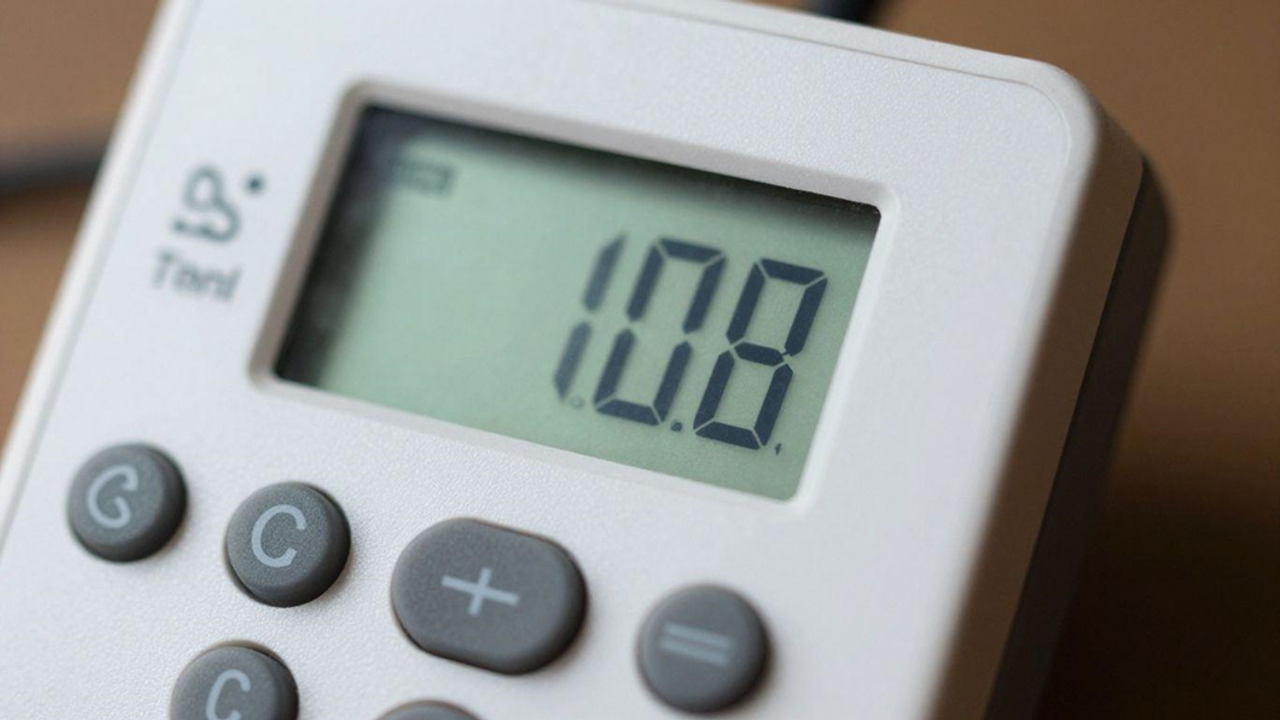
2. Verify the Thermostat Settings
Your thermostat acts as mission control for your cooling system, and a simple misconfiguration can leave you sweltering unnecessarily. Start by confirming it's set to COOL mode—not AUTO, HEAT, or OFF. Sounds obvious, but many calls for emergency AC repair trace back to this exact oversight, especially after someone accidentally bumps the controls.
Set your thermostat 3–5°F below the current room temperature to ensure the system triggers. If the room is 78°F and the setting is 76°F, it may stay idle. Temporarily drop the setpoint to 70°F to test the connection and force the compressor to kick on.
Dead batteries or poor calibration can also sabotage wireless thermostats. Replace batteries if the display looks dim or flickers. For older dial-style models, dust accumulation inside the housing can prevent accurate temperature readings, making your AC think it's cooler than reality. A gentle cleaning with compressed air often resolves this issue before you need professional intervention.
3. Inspect the Air Filter why AC not turning on
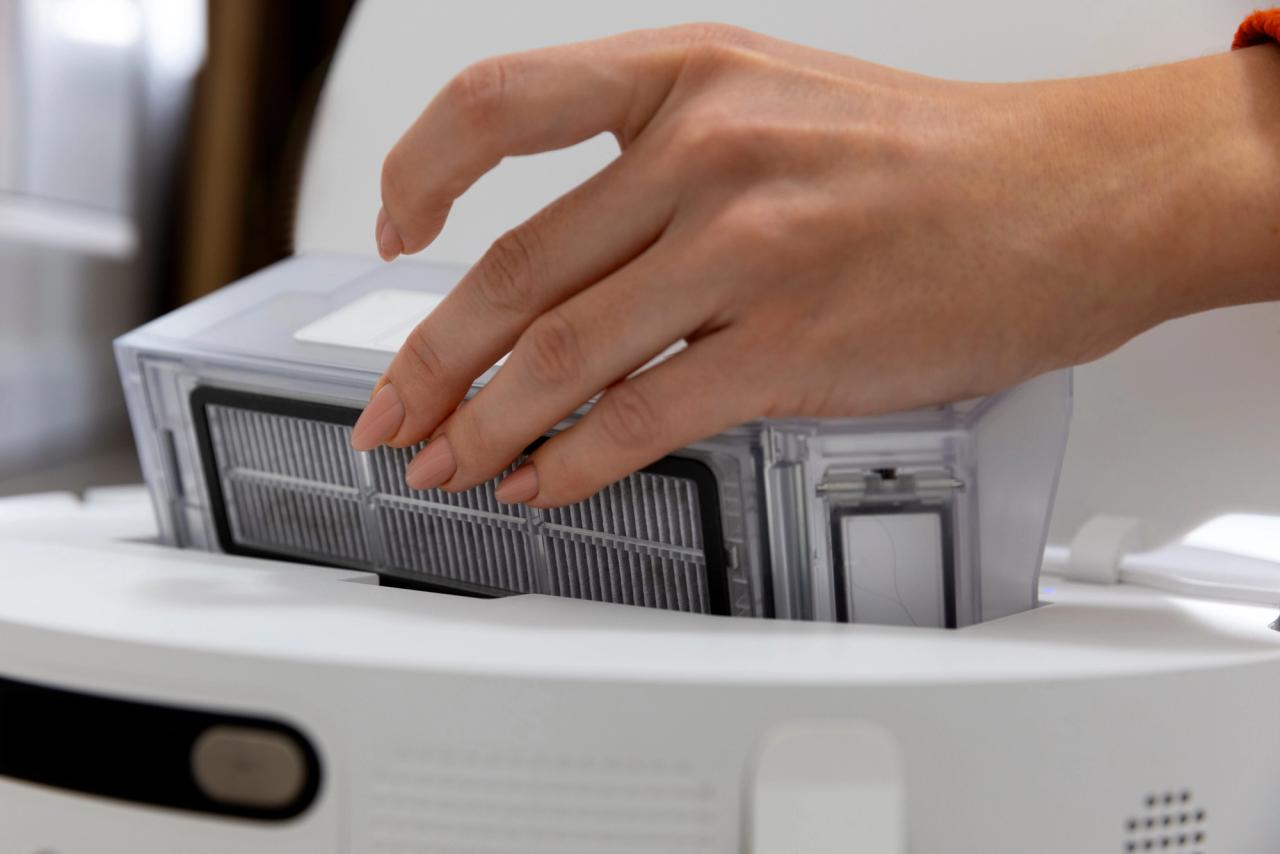
A clogged air filter restricts airflow, which can trigger safety shutdowns to protect your compressor. To check yours, hold it up to a light source; if no light passes through, it needs replacement.
During the cooling season, swap your filter every 30–60 days. Even a slightly dirty filter forces your system to work 20% harder, raising energy costs and straining parts. You can usually find the filter in your hallway return grille or inside the air handler's blower compartment.
Pro insight: If you're repeatedly replacing filters after just two weeks, you're treating a symptom rather than the cause. This pattern often signals ductwork leaks pulling in attic dust, which requires professional attention to prevent long-term system damage.
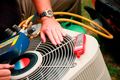
4. Examine the Outdoor Unit
Keep your outdoor condenser clear of leaves, dirt, and weeds. The unit needs at least two feet of open space on all sides to exhaust heat properly.
Listen for a hum or click when the thermostat turns on. If you hear nothing, the unit might not have power. Never use a pressure washer on the delicate metal fins, as this can flatten them and block airflow permanently.
If you hear humming but the fan isn't spinning, the capacitor might have failed—a common issue that affects roughly 60% of AC breakdowns according to AC troubleshooting experts. This component stores electrical energy to jumpstart the compressor and fan motor, and when it dies, your system essentially loses its spark plug.
Check whether the condenser coils look caked with dirt or cottonwood seeds (a common nuisance). Gently spray them clean with a garden hose from the inside out, but never use a pressure washer—you'll bend those fragile fins instantly. If you're uncomfortable with basic diagnostics or suspect electrical problems, don't hesitate to schedule professional evaluation rather than risking ac repair delays during peak season when technicians book solid.
5. Check for Clogged Drain Lines
When your AC won't turn on, a blocked condensate drain line might be silently sabotaging your entire cooling system. Modern air conditioners include a float switch safety mechanism designed to shut down the unit completely when water levels rise too high—a critical protection against flooding and water damage inside your home.
To include this in your list of troubleshooting steps, here is a short and simple version:
- Clear Clogged Drain Lines: As your AC cools, it removes humidity that collects in a drain pan. If the drain line clogs with dust or sludge, a float switch will trigger and shut down the system to prevent water damage.
- Check for Standing Water: Locate your indoor air handler and inspect the pan. If you see pooling water, the line needs clearing. You can often fix this yourself by using a wet/dry vacuum on the exterior drain outlet to suck out the blockage.
The irony? This safety feature prevents one problem while creating another—you're left sweltering while the AC protects your property. However, regular maintenance prevents these shutdowns entirely, keeping your system running when you need it most.
6. Verify the Safety Switch
Modern air conditioners use safety switches to prevent water damage and electrical hazards. If these trigger, your unit will not start.
- Check the Float Switch: Locate the drain pan under your indoor air handler. If the pan is full of water, the float switch has cut power to prevent a flood. Drain the water to reset the switch, but remember this usually means your drain line is clogged.
- Secure Access Panels: Check that all service panels on your indoor and outdoor units are fully closed. Most systems have a door interlock switch that kills power if a panel is loose or open.
- Inspect Pressure Switches: High-pressure switches can trip if the system overheats. If your panels are secure and the drain pan is dry, a professional AC repair technician may need to reset internal sensors.
7. Inspect the Air Vents
Blocked or closed vents create a pressure imbalance that can trigger a system shutdown to protect the compressor.
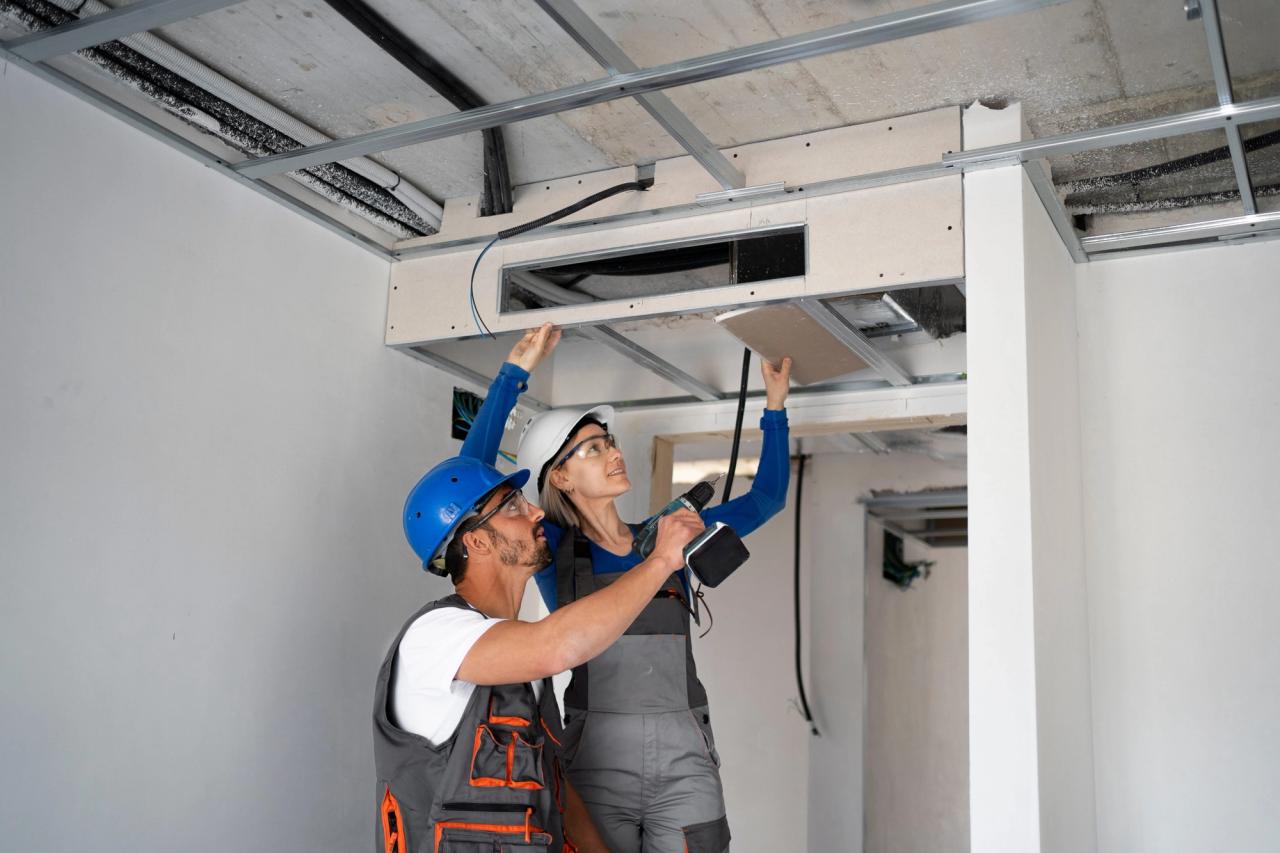
- Supply Vents: These are where the cool air comes out. Ensure they are open and clear of obstructions.
- Return Vents: These pull the warm air back into the system. Keep them clear too, as they are just as important for the overall cycle.
- Obstructions: Look for anything that might be physically blocking the vent opening.
Clearing these blockages restores balance and prevents your system from working 15-20% harder than necessary.
Pro tip: Hold a piece of tissue paper near each vent while the system attempts to run. Strong suction at returns and steady airflow from supplies indicate proper circulation. Weak or absent airflow points to deeper issues that may require 24/7 HVAC repair intervention, especially during USA's peak cooling season when system demands are highest.
8. Confirm the AC Unit Power Switch
Many homeowners overlook the dedicated power switch located in a weatherproof metal box near the outdoor unit. This switch is often accidentally flipped by landscapers or during house cleaning.
- Check the Position: Ensure the switch is in the "ON" or "UP" position.
- Wait Before Restarting: If you flip it back on, wait 3–5 minutes before turning the AC on at the thermostat. This delay protects your compressor from electrical stress.
- Verify Power: Once restored, you should hear the outdoor fan and compressor engage.
This secondary switch is a common culprit when the main circuit breaker hasn't tripped but the unit still has no power.
9. Look for Refrigerant Leaks
Low refrigerant levels can trigger safety sensors that shut down your system to prevent compressor damage. In California, temperature shifts often cause joints to expand and leak over time.
Check your outdoor unit for hissing sounds, ice buildup on copper lines, or oily residue near connections. If your AC tries to start but shuts down immediately, it likely enters "lockout mode" due to low pressure. Unlike a dirty filter, refrigerant leaks require a professional AC installation and repair technician to find and seal the leak before recharging the system.
Never attempt DIY refrigerant recharging. This specialized work requires EPA certification, proper gauging equipment, and knowledge of specific refrigerant types. More importantly, simply adding refrigerant without locating and repairing the leak guarantees recurring failure while potentially masking compressor damage already in progress.
10. Evaluate the Age and Condition of Your AC
In Simi Valley’s demanding climate, systems often age faster than the national average. Most central air conditioners last 15–20 years, but once they hit this threshold, failure rates climb.
Physical signs like rusted cabinets, corroded electrical parts, or oil stains on the concrete suggest your unit is reaching its end. If your compressor hums but won't start, it often points to internal motor failure rather than a simple electrical glitch.
When multiple components like the capacitor, blower motor, and compressor start failing back-to-back, repairs become a cycle. If a repair cost exceeds 50% of the system's value, it is usually more cost-effective to upgrade to a modern, energy-efficient unit that reduces monthly bills and eliminates constant emergency service calls.
Limitations and Considerations
While these DIY troubleshooting steps can resolve many common air conditioning issues, they have clear boundaries. Certain problems require specialized equipment, technical training, and licensing that homeowners simply don't possess. Refrigerant handling, for instance, demands EPA certification—attempting to recharge your system yourself is both illegal and dangerous.
Electrical work beyond basic breaker resets carries serious safety risks. High-voltage components inside your AC unit can cause severe injury or death even when the system appears off. If you suspect wiring issues, compressor problems, or control board failures, professional intervention becomes non-negotiable.
Time sensitivity matters. Spending hours troubleshooting during heat wave might save technician costs, but it could also leave your family in dangerous conditions. Extended periods without cooling can be uncomfortable and potentially unsafe for vulnerable individuals.
Additionally, amateur repairs can void warranties and cause costlier damage than the original problem. Modern AC systems use sophisticated electronics and precision components, so incorrect repairs could lead to further issues.
Key Ac Not Turning On Takeaways
Before calling for a costly service visit, remember that most AC issues stem from simple, fixable problems. A systematic approach—checking your thermostat, electrical panel, filters, and outdoor unit—can often restore cooling within minutes.
Common culprits like tripped breakers, clogged filters, and thermostat errors require no specialized tools to fix. However, if you encounter refrigerant leaks, electrical failures, or your unit is over 15 years old, it’s time to call a professional. In California’s intense heat, preventive HVAC maintenance is the best way to protect your investment and ensure long-term comfort.
If these diagnostic steps don't solve the problem, contact a licensed Simi Valley HVAC technician to get your cooling back on track promptly.
Frequently Asked Questions
What should I check first if my AC is not turning on in Simi Valley?
Start by checking the circuit breaker; a tripped breaker accounts for about 30% of AC not turning on issues, especially after storms.
How do I know if my thermostat is configured correctly?
Ensure your thermostat is set to COOL mode and the target temperature is at least 3-5 degrees below the current room temperature.
What role does the air filter play in my AC system?
A clogged air filter can severely restrict airflow, causing your AC to not turn on as a protective measure against system damage.
How can I inspect my outdoor AC unit for problems?
Visually inspect your outdoor condenser for obstructions like debris or dirt buildup and ensure it has at least two feet of clearance on all sides.
When should I consider calling for emergency AC repair in Simi Valley?
If basic troubleshooting steps don't resolve the issue and the AC still won't turn on, it may be time to contact a professional for emergency AC repair.
About the Author
Mubashat Shahzad